
Last updated October 31, 2026
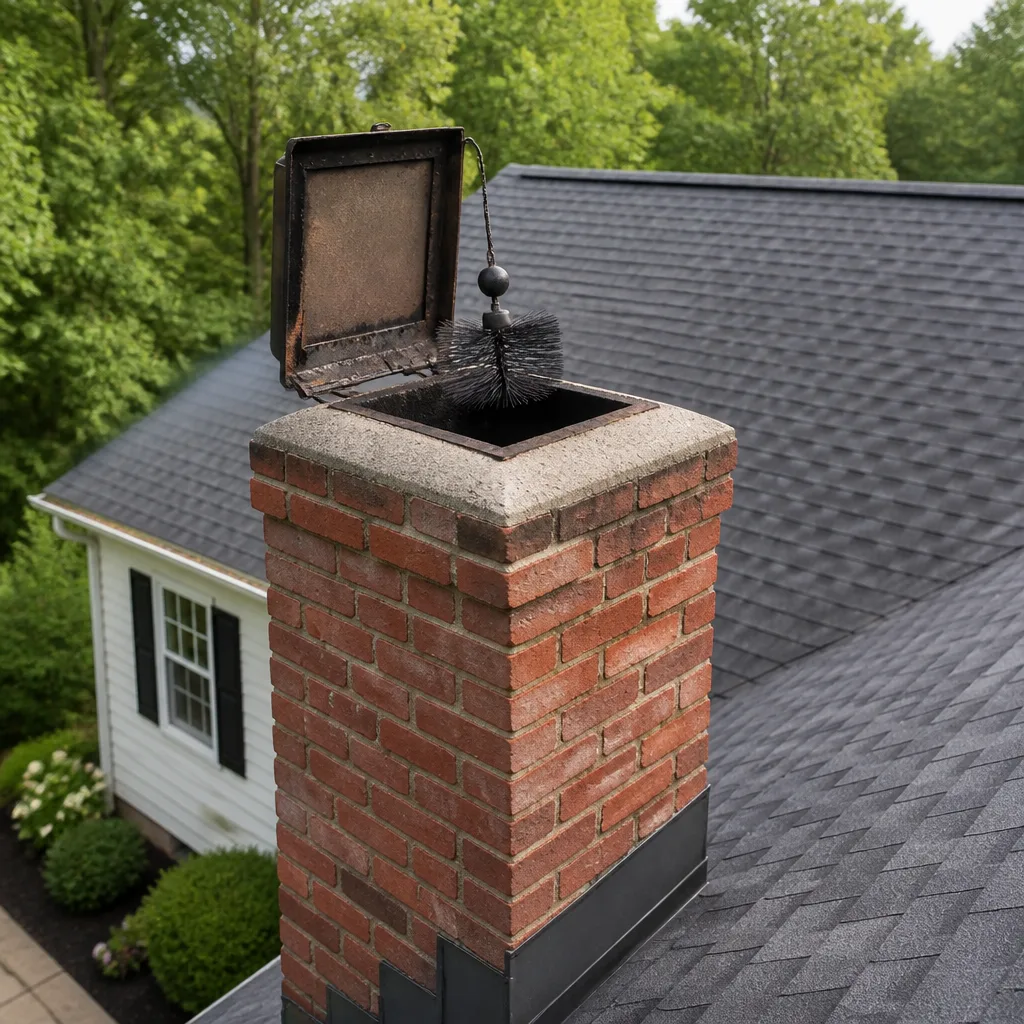 Sweep & inspection
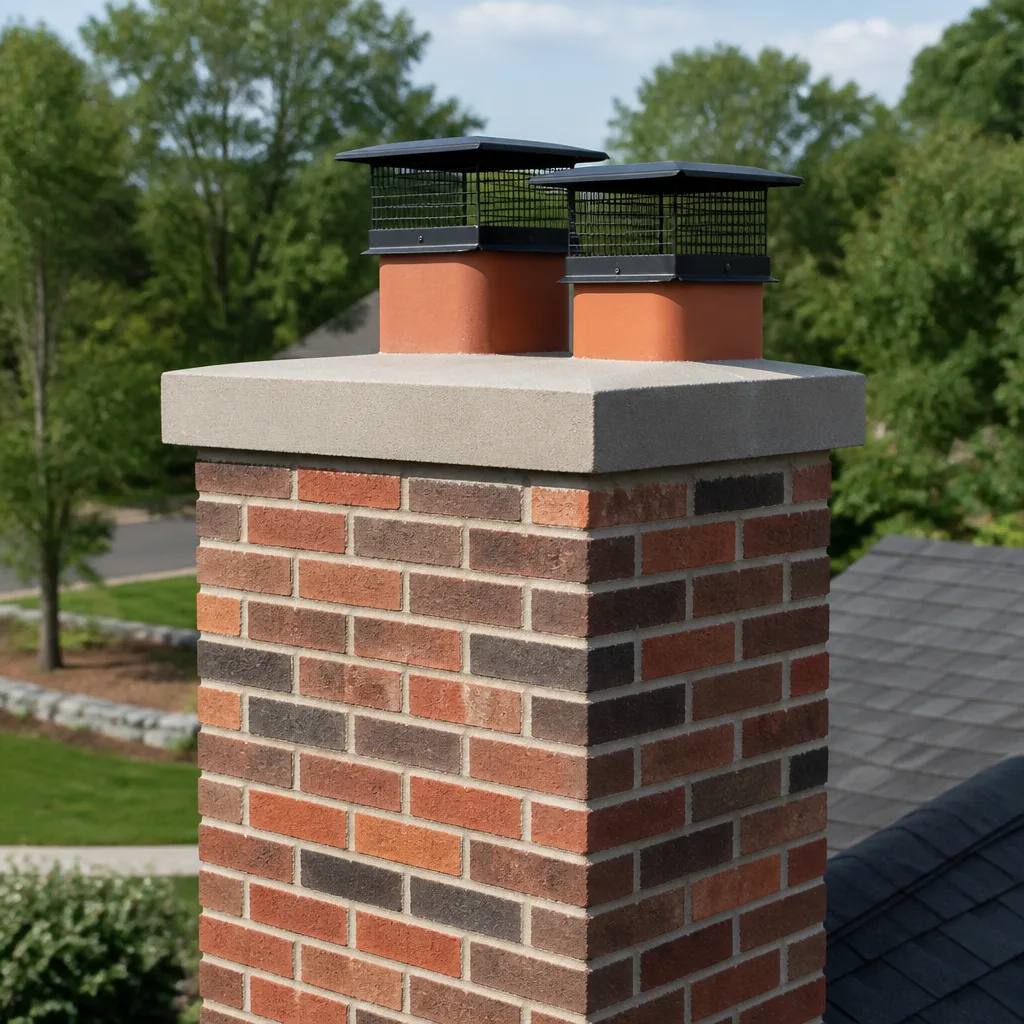 Caps & crowns
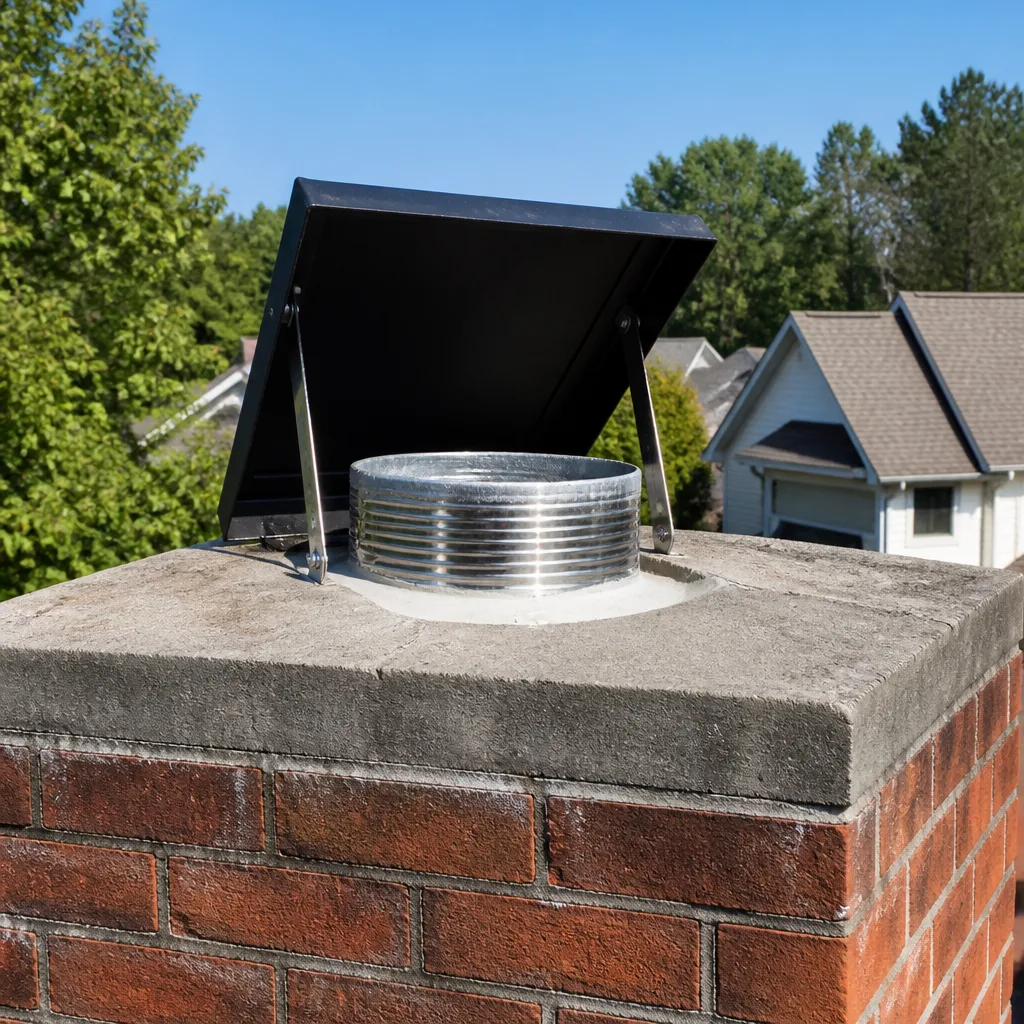 Flue relining
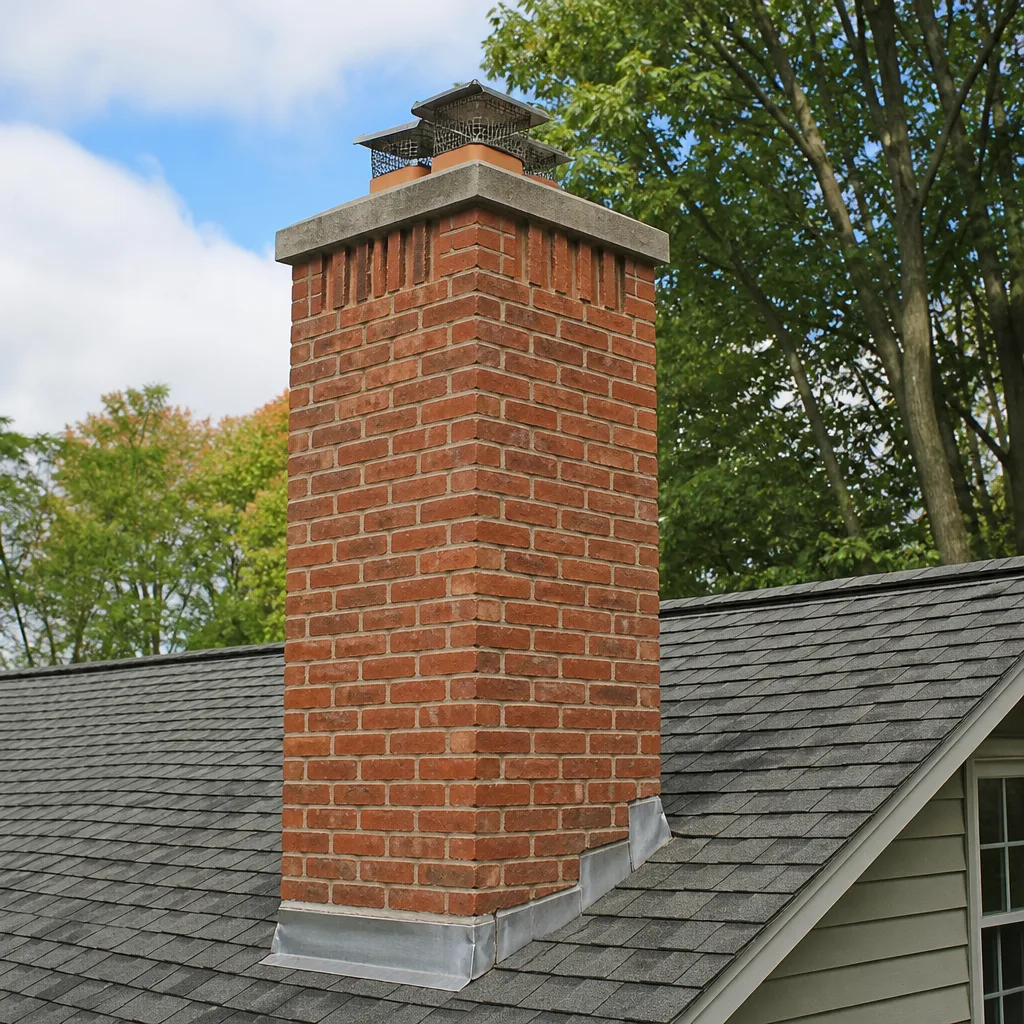 Masonry repair
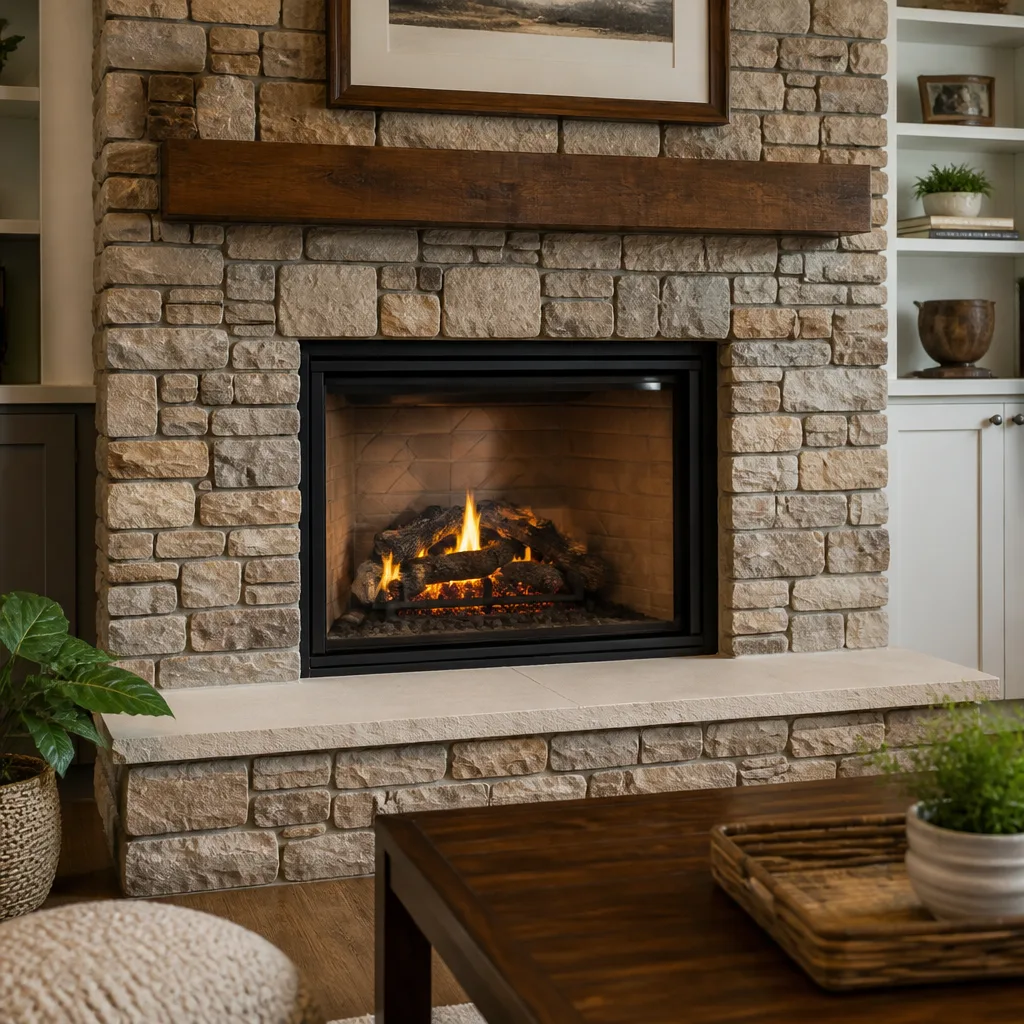 Gas fireplace service
Level 1 sweep and inspection to the NFPA 211 annual standard - flue, crown, cap, and flashing checked and photographed
Chimney sweep logs do not sweep chimneys. They loosen some creosote - which then falls where a brush and vacuum still have to collect it.
Chimney Sweep Maintenance Checklist for Round Rock Homeowners
Here’s a number that sticks with us: the National Fire Protection Association attributes roughly 25,000 chimney fires each year to creosote buildup that homeowners never saw coming. What surprises people in Round Rock is that the damage usually starts long before the first fire of fall. Our climate cycles brick and metal through brutal temperature swings, hairline fractures open in mortar joints, and dampers warp in attic heat that regularly exceeds 130°F. This checklist is built around what actually fails in Round Rock homes, not what a generic maintenance guide assumes fails everywhere. You’ll learn the seasonal rhythm that matches our actual weather, the inspection points that matter most on chimneys built in the 2000s, and the documentation steps that make your next sweep or repair call dramatically more productive.
Quick Answer
A chimney maintenance checklist for Round Rock homeowners should follow a three-part rhythm: an annual professional sweep and inspection before the first fall fire, monthly visual checks of the firebox and exterior brick during burn season, and a parallel dryer vent cleaning every 12 to 18 months since both systems share the same fire-risk profile. The most commonly missed items in Round Rock are mortar joint inspection on chimneys older than 15 years, damper seal testing after summer, and checking for pollen-clogged dryer vents in April and May.
Styles & brands we work with
Table of Contents
- January – February: Burn Season Checks That Catch Problems Early
- March – April: Pollen Season and the Dryer Vent Parallel
- May – June: Off-Season Inspection and Mortar Joint Assessment
- July – August: The Warping Season for Dampers and Caps
- September – October: Pre-Burn Sweep and What to Document
- November – December: Heavy Use Monitoring and Creosote Awareness
- Throat Dampers vs. Top-Mounted Dampers: What a Good Seal Looks Like
- Mortar Joint Inspection Steps for Round Rock Brick Chimneys
January – February: Burn Season Checks That Catch Problems Early
January and February are when Round Rock fireplaces earn their keep. Cold snaps in the 20s and 30s mean the damper is open, the firebox is hot, and the flue is moving serious combustion byproducts. This is also when small problems announce themselves, if you know what to look for.
Start with these monthly checks during burn season:
- Smoke behavior in the firebox. Smoke should draw cleanly up the flue. If it curls back into the room, or if you notice a campfire smell in the house hours after the fire is out, the draft is compromised. In Round Rock homes built in the late 2000s, we frequently find that the issue is a warp in the metal damper frame, not a clogged flue. Cold outside air meeting a hot fire creates negative pressure; a damper that seals poorly makes it worse.
- Creosote texture on the flue walls. Shine a flashlight up past the damper. Stage one creosote is flaky and brushes off easily. Stage two is shiny and tar-like – that’s the stage that fuels chimney fires. If you’re seeing anything that looks like blackened popcorn or glazed tar, stop burning and schedule a sweep. High-moisture oak and pecan, both common firewood choices around Round Rock, produce more creosote than properly seasoned post oak.
- The damper open and close motion. A damper that sticks, scrapes, or doesn’t seat fully is a problem you want to document now, not in October. The metal components in your chimney sit in an attic cavity that can swing from 28°F to 135°F over a single season. Each swing introduces microscopic movement in the frame. By late winter, that movement is often visible as a gap at the damper edge.
- Exterior brick after hard freezes. Walk around the chimney after any night below freezing. Look for fresh cracks in the brick face or spalling (flaking brick surfaces). Water that seeped into hairline mortar cracks expands when it freezes, widening the gap. This is the single most common structural issue we find in Round Rock subdivisions, especially in chimneys that face west or north and take the brunt of winter weather.
These are observational checks. None of them require tools beyond a flashlight and five minutes. What they do require is consistency. A homeowner who checks monthly catches a warping damper in February, before it becomes a July problem that brings wildlife into the flue.
March – April: Pollen Season and the Dryer Vent Parallel
Round Rock in March and April means oak pollen thick enough to write your name in, and that pollen doesn’t just settle on your car. It draws moisture and lint into the dryer vent system, where it bonds with existing lint into a dense, sticky mat. This is why we pair chimney maintenance with dryer vent cleaning: the two systems have different failure modes but the same ignition risk profile.
Here’s what should be on your March – April checklist:
- Check dryer vent exterior termination. The vent cap on the outside wall should open fully when the dryer runs. In Round Rock, pollen and lint can gum the flapper shut within a single spring. If the flapper doesn’t open, the exhaust backs up into the wall cavity, and your dryer works harder while venting less.
- Time your dryer cycle. A load of towels that previously dried in 45 minutes and now takes 70 is a signal, not a nuisance. It means the vent path is restricted. In our experience serving Round Rock homes, vent restrictions of 50% or more are common by the second spring without a cleaning.
- Check the chimney cap screen. Pollen cakes onto the mesh screen of your chimney cap, and when it rains, that pollen turns into a paste that restricts airflow. A cap screen that’s 40% clogged can create drafting problems even in a clean flue. This is a ladder job – if you’re not comfortable on a roof, this goes on the call list for your sweep.
- Document any musty smell from the fireplace. Spring rain plus a partially sealed damper creates the conditions for that distinctive damp-fireplace smell. It’s not just unpleasant; it’s evidence that moisture is entering the flue, and moisture is what accelerates mortar deterioration. A chimney liner inspection is the diagnostic step here, and it’s worth doing before summer heat bakes the moisture deeper into the brick.
The parallel here matters. A homeowner who schedules a Chimney Sweep in Round Rock for April might not think about the dryer vent. But both systems are compromised by the same seasonal conditions. One call that covers both means you’ve addressed the two leading household fire hazards in a single visit, a scheduling approach we recommend for anyone who fires up the fireplace regularly and does laundry in a home with a long vent run.
May – June: Off-Season Inspection and Mortar Joint Assessment
May is the smartest month for a chimney inspection in Round Rock. The burn season is over, the summer heat hasn’t peaked, and any problems found can be scheduled for repair before fall. This is when the mortar joints tell their story.
Mortar joint inspection steps for brick chimneys older than 15 years:
- Start from the ground with binoculars. Look at the chimney stack from two angles. You’re looking for dark lines between bricks where mortar should be, rust-colored staining that indicates water penetration, and any brick that sits proud or proud of its neighbors. In Round Rock subdivisions built between 2005 and 2010, the original mortar is approaching the end of its service life in exposed chimneys.
- Check the mortar joints with a flat-head screwdriver from a ladder. Only if you’re comfortable and stable on the ladder. Press the tip into the mortar. It should resist. If it crumbles, flakes, or sinks in, the joint is compromised. Do this in six to eight spots around the chimney. Document each spot with a phone photo.
- Look for vertical cracks at the corners. Corner joints fail first because they’re exposed to weather from two sides. A vertical crack running up a corner joint is a structural warning, not a cosmetic one. Water follows that crack through freeze-thaw cycles, and each winter widens it.
- Check the crown, if visible. The concrete crown at the top of the chimney is the umbrella. Hairline cracks in the crown let water directly into the brick structure. In a Round Rock summer, those cracks also let heat penetrate, and the expansion cycle accelerates spalling.
- Photograph everything. Take close-ups of every crack, every spalled brick, every area of concern. These photos are what make your call to a sweep productive. Instead of saying “the chimney looks rough,” you can say “the corner joint on the north face has a vertical crack about 18 inches long that wasn’t there last year.”
If any of these checks turn up compromised mortar, the next step is a chimney repair evaluation. Chimney repair in Round Rock is most cost-effective when problems are caught in May. The same repointing job found in September costs the same, but the risk profile is different: burn season is weeks away, not months, and any masonry work needs time to cure properly.
July – August: The Warping Season for Dampers and Caps
July and August in Round Rock are not burning months. But they’re the months that determine whether your chimney will work correctly in November. The attic cavity around your chimney flue can hit 130°F or higher in a Central Texas summer. Metal components sealed during cooler weather expand. When they cool, they don’t always return to their original shape.
Here’s what to check during the summer months:
- The throat damper seal. Close the damper fully and shine a flashlight up from the firebox. If you can see light around the edges of the damper plate, the seal has failed. In our experience serving Round Rock homeowners, a damper that sealed fine last February may show visible light gaps by August. That gap is how conditioned air escapes in summer, and how wildlife finds a way in during the fall.
- Top-mounted damper operation. If your chimney has a top-mounted damper (the kind that seals at the top of the flue instead of the throat), check it from the ground with binoculars. The cable mechanism and the damper plate sit fully exposed to Texas sun. UV damage to the cable housing and seal degradation on the plate are common failure points.
- Chimney cap condition. A cap with a warped or missing section of screen is an open invitation to squirrels, raccoons, and chimney swifts. Round Rock has a healthy squirrel population, and a chimney flue is a premium nesting site. The Boardwalk Chimney Sweep home service area includes plenty of homes where summer squirrel nesting has damaged damper mechanisms.
- Check for animal debris. Look down the flue from the roof if you’re comfortable, or shine a flashlight up from the firebox. Twigs, dried grass, and animal scat are diagnostic signs. If you find evidence of nesting, that’s a sweep plus a wildlife exclusion conversation, not a DIY removal project.
Here’s the counterintuitive part of summer maintenance: doing nothing is actually a form of damage. A damaged damper or cap doesn’t fix itself over the summer. It waits. And the first time you light a fire in November, you discover the problem when smoke doesn’t draw properly, or worse, when a chimney fire starts in a flue filled with creosote and squirrel debris.
September – October: Pre-Burn Sweep and What to Document
The window between Labor Day and the first cold front is the single most important period on the Round Rock chimney calendar. This is when the professional sweep should happen, before demand peaks and before you’re tempted to light that first fire without an inspection.
A pre-burn sweep and inspection should include:
- Full flue cleaning with mechanical brushes. A proper sweep removes creosote from the flue walls, the smoke shelf, and the damper assembly. This is not a job for a brush on a drill from the big-box store. A professional sweep uses rotary brushes sized to your flue diameter and documented inspection tools.
- Chimney liner inspection. Whether your chimney is lined with clay tile or a metal liner, the inspector should be checking for cracks, gaps, and deterioration. A cracked clay tile liner is a fire-containment failure point. In older Round Rock homes, clay tile liners from the 1980s and 1990s are reaching the end of their service life, and a camera inspection is the only way to know.
- Damper function testing. This is the moment to test that seal you’ve been checking all summer. A sweep who knows the throat damper vs. top-mounted damper differences will check both the seal and the mechanical operation. If the damper has warped, this is the appointment where it gets caught, not the first cold night.
- Chimney cap and crown assessment. The sweep should check the cap screen, the spark arrestor, and the crown for cracking. These exterior components are the first line of defense against water and animals, and they’re often the most neglected.
What to document before calling a sweep:
- Photos of anything weird. That crack in the mortar from May, the damper light gap from July, the fallen brick chips around the base. Photograph them from multiple angles.
- Notes on symptom timing. “Smoke came into the room on January 18th and February 3rd, but not in between.” This is diagnostic gold. Intermittent drafting problems often point to pressure issues or damper geometry, not creosote buildup.
- A list of burning habits. What wood do you burn? How often? Have you burned anything besides wood, like duraflame logs or treated lumber? Treated lumber is a serious mistake because it releases chemicals that corrode chimney components. Your sweep should know if that happened, even if it was once.
- Any history of water or animal issues. If you had a squirrel nest in 2022, say so. If the fireplace smelled musty after heavy rain in April, write that down. The sweep’s inspection will be more targeted and more useful.
This documentation makes the difference between a generic sweep and a genuinely useful service conversation. When you call a chimney sweep serving Round Rock, you’re not just booking a brush through the flue. You’re booking a diagnostic visit, and the more information you bring, the more you get out of it.
November – December: Heavy Use Monitoring and Creosote Awareness
Once the first real cold front arrives, Round Rock fireplaces go from occasional to daily use. This is the highest-risk period for chimney fires because the system is working hard, and any residual issues from the off-season are now under load.
Heavy-use monitoring checklist:
- Burn only properly seasoned firewood. Wood should be cut, split, and stacked for at least six months before burning. Green wood creates cooler fires and more creosote. In Round Rock, where the humidity swings wildly, wood stored outside without a cover can absorb moisture even after seasoning. Keep firewood covered and elevated off the ground.
- Watch for creosote accumulation at an accelerated rate. If a sweep was done in October and you’re seeing shiny, tar-like creosote by December, something is off. Common causes are burning wet wood, restricted airflow, or a flue that’s too large for the firebox. The third cause is surprisingly common in homes where a fireplace was installed or modified without proper sizing calculations.
- Listen for unusual sounds. A roaring fire should sound like a fire, not like a blowtorch. A loud roaring or humming sound can indicate a chimney fire in progress. If you hear that, or if you see dense smoke or flames shooting from the chimney top, call 911 immediately. Do not try to extinguish a chimney fire yourself.
- Check the smoke alarm and carbon monoxide detector batteries. A chimney system that isn’t drafting properly can push carbon monoxide into the living space instead of up the flue. This is a silent hazard. Test both devices monthly during burn season, and replace batteries when you change your clocks.
- Monitor for odor between fires. A cold fireplace that smells strongly of smoke or creosote days after the last fire indicates a draft reversal. Cold air falls down the flue and pushes fireplace odors into the house. This is common in Round Rock during December’s temperature swings, and it’s a sign that the damper seal or the chimney height needs attention.
The key difference between a homeowner who burns safely every year and one who eventually calls a sweep in a panic is consistency. A monthly check that takes 10 minutes catches the damper warp, the mortar crack, the cap damage, before they become failures. Creosote doesn’t care about your schedule. It accumulates on its own timeline, and the only way to stay ahead of it is to look.
Throat Dampers vs. Top-Mounted Dampers: What a Good Seal Looks Like
Most Round Rock homes built before 2010 have throat dampers, the metal plate that sits just above the firebox. Newer homes, and chimneys that have been retrofitted, often have top-mounted dampers that seal at the top of the flue. Each type fails differently, and knowing what a good seal looks like changes what you check.
Throat Dampers
A throat damper in good condition seats fully against the damper frame with the handle fully extended. When you look up from the firebox with a flashlight, you should see no light around the edges of the damper plate. The plate should operate smoothly without scraping, and the handle should hold its position. Warping shows up first as a slight bow in the plate, which creates a crescent-shaped light gap at the edge. In Round Rock’s attic heat, that bow becomes permanent over time, and a permanent bow means conditioned air and wildlife both have a path through the chimney.
Top-Mounted Dampers
A top-mounted damper sits at the very top of the flue and seals with a rubber gasket against the flue opening. From the firebox, you’ll see the cable mechanism that operates it. From the ground outside, you should see the damper fully closed over the flue opening, with no visible gap. The seal degrades from UV exposure and temperature cycling. A top-mounted damper that’s been in service for five or more Texas summers may have a gasket that’s dried, cracked, or compressed out of shape. The test is visual: if you can see daylight at the seal edge from the roof, or if the cable feels spongy instead of firm when you operate it, the damper needs service.
We stock components from Olympia Chimney and Famco specifically because these are the brands chimney professionals specify for replacement dampers and caps. When a damper replacement is needed, the material quality matters. A cheap aftermarket damper will warp again in two or three summers. A properly-spec’d unit with a higher-grade stainless or cast aluminum frame stays true through the temperature cycles that Central Texas throws at it.
Mortar Joint Inspection Steps for Round Rock Brick Chimneys
The brick chimney on a Round Rock home built in the late 2000s is now 15 to 20 years old. That’s the service life window where original mortar starts to fail, especially on chimneys that are fully exposed and take direct sun and rain. Here’s the detailed inspection process, step by step.
- Start at the base and work up with binoculars. Look at the mortar joints between each brick. In a healthy chimney, mortar lines are uniform in color and texture. In a failing chimney, you’ll see sections where the mortar is lighter, crumbly, or recessed compared to surrounding joints. These are areas where water has already started breaking down the bond.
- Use a ladder to test suspected areas. For any joint that looks suspect from the ground, get closer. A flat-head screwdriver pressed lightly into the mortar should meet resistance. If the screwdriver sinks in, scrapes out mortar with gentle pressure, or produces a sandy shower, the joint is actively failing. Do not dig aggressively; you’re testing, not excavating.
- Mark and photograph each failing location. Use a piece of masking tape or a phone photo with your finger pointing at the spot. You need location data that survives until you talk to a sweep. “The joint at the third brick from the bottom on the northeast corner” is far more useful than “the chimney has some cracks.”
- Check for efflorescence. White, chalky deposits on the brick surface are minerals left behind when water evaporates through the masonry. Efflorescence is a sign that moisture is moving through the brick, which means the mortar joints or crown are allowing water penetration. In Round Rock’s humid climate, efflorescence on a chimney stack is a reliable indicator that repointing work is in the near future.
- Check the flashing where the chimney meets the roof. Failed flashing is the leading cause of water damage around chimneys. Look for lifted shingles, cracked sealant, or gaps between the metal flashing and the brick. This is often a roof repair issue, not strictly a chimney repair issue, but a good chimney sweep will flag it. Water that enters at the flashing line saturates the bricks below and destroys mortar from the inside out.
If the inspection finds more than isolated repointing needs, a full chimney repair evaluation in Round Rock is warranted. The same crew that does the inspection should be able to do the repair work. That’s not always the case in our industry; plenty of sweep companies will identify problems and then hand you a referral card. We repair what we inspect, and we use the same brands chimney professionals specify – including Gelco water repellents for masonry protection and Copperfield flashing components where structural fixes are needed.
Common Mistakes to Avoid
- Checking the visible parts but ignoring the flue interior. The chimney looks great from the ground and the firebox is clean, but creosote can build rapidly in the upper flue where it’s not visible. You can’t evaluate a chimney from outside alone. A camera inspection is the only way to see the full flue surface.
- Assuming a top-mounted damper means no wildlife risk. A top-mounted damper with a broken cable or a deteriorated seal is just as vulnerable as an open throat damper. We’ve found squirrel nests above top-mounted dampers that were stuck closed, creating a double problem: nesting debris and a blocked flue.
- Waiting until the first cold snap to schedule a sweep. In Round Rock, the first cold front of October creates a rush of sweep requests. The rush means wait times, and wait times mean homeowners light fires in unswept chimneys. Scheduling a sweep in September avoids the bottleneck.
- Ignoring the dryer vent because it’s not a chimney. The NFPA identifies dryer vent fires as a leading cause of home fires, and Round Rock’s pollen season makes vent blockages worse. A dryer vent cleaning takes 30 to 45 minutes. Pairing it with a chimney sweep is the smartest $100 to $200 you’ll spend on fire prevention.
- Burning unseasoned wood to “get through” the winter. Wet wood produces more creosote and burns less efficiently. If your wood is wet, you’re not saving money by burning it; you’re creating a future chimney fire hazard. Buy properly seasoned wood from a reputable dealer, or season your own for a full year.
- DIY chimney repairs for structural issues. Mortar repointing and flashing replacement are not YouTube projects. Improperly mixed mortar can damage brick through spalling. Improper flashing will leak and cause more damage than the original problem. This is skilled work for a reason.
- Not documenting what you see. A vague report (“the chimney has some issues”) leads to a vague inspection. Specific observations, with photos and timing, lead to targeted diagnostics and correct repairs. Your phone’s camera roll is the first line of your chimney maintenance program.
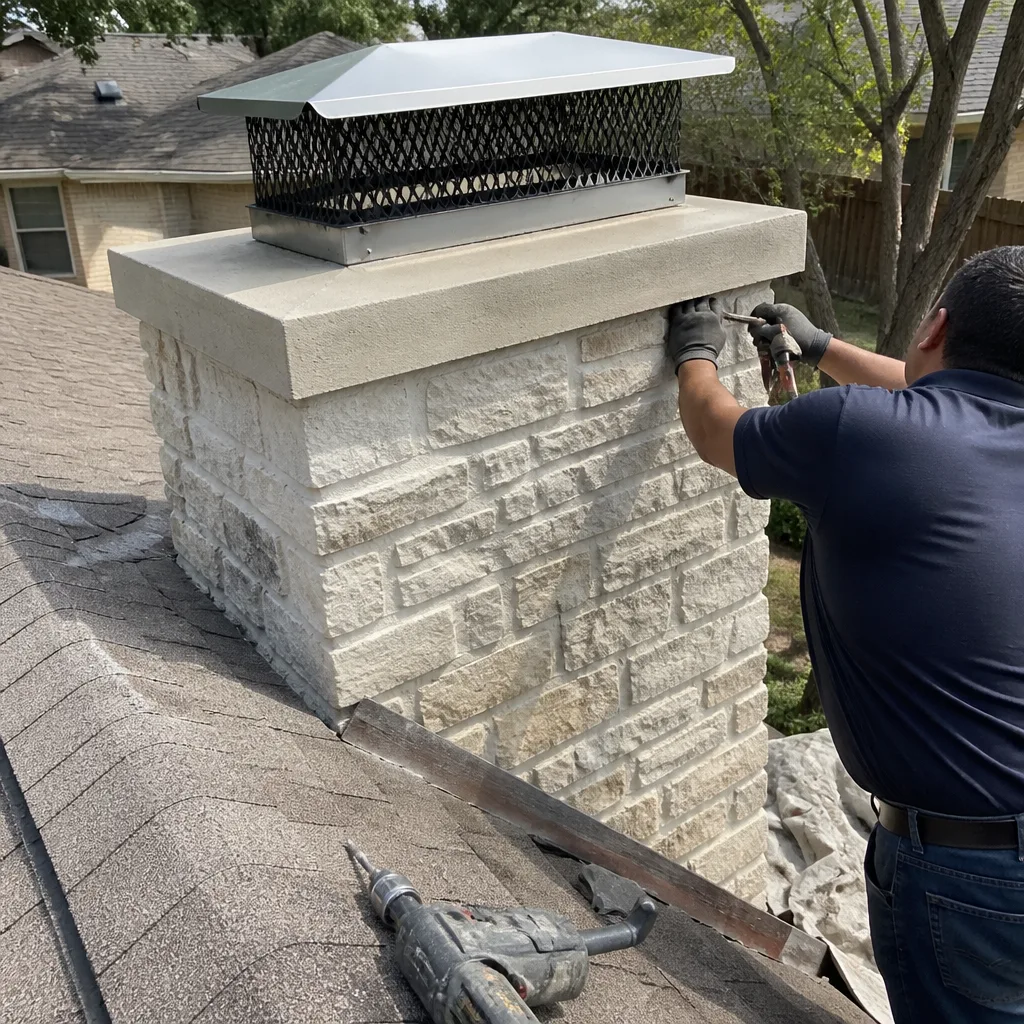
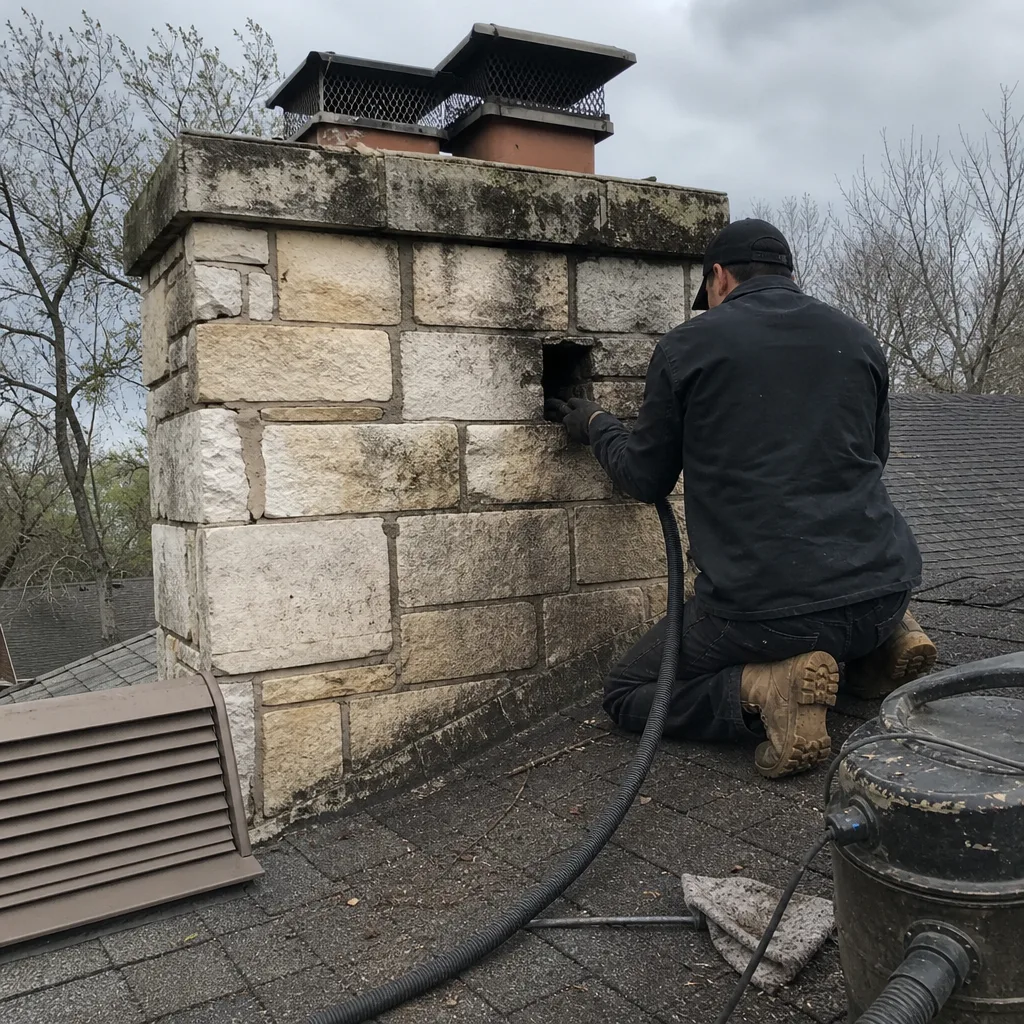
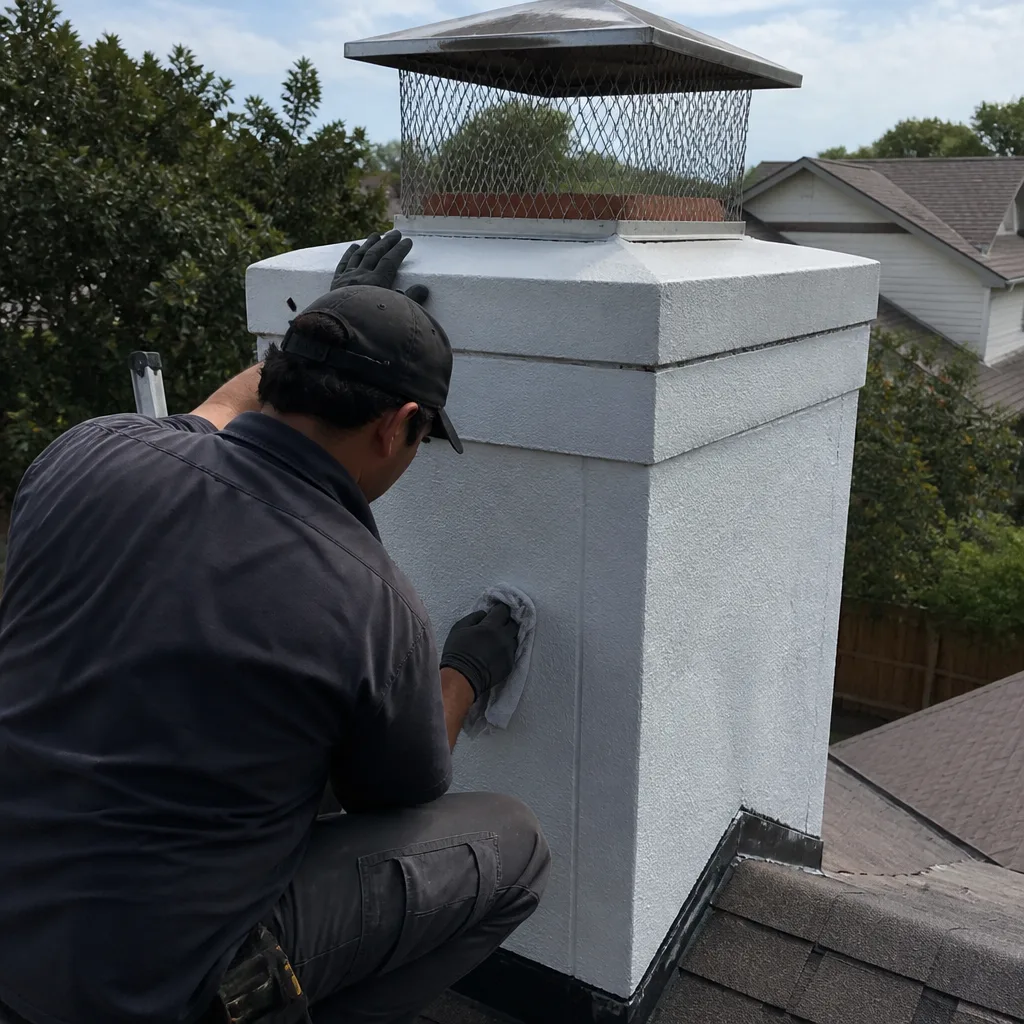
See the difference
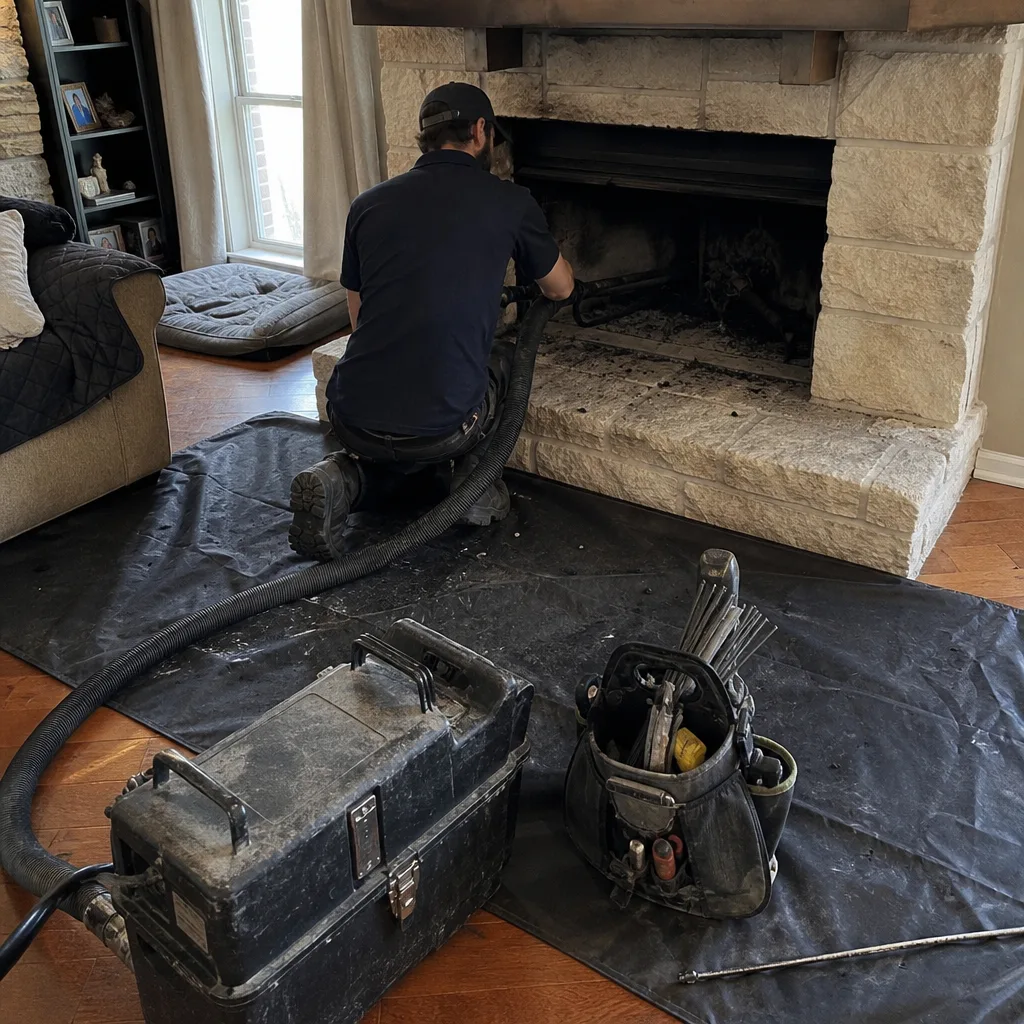 Before
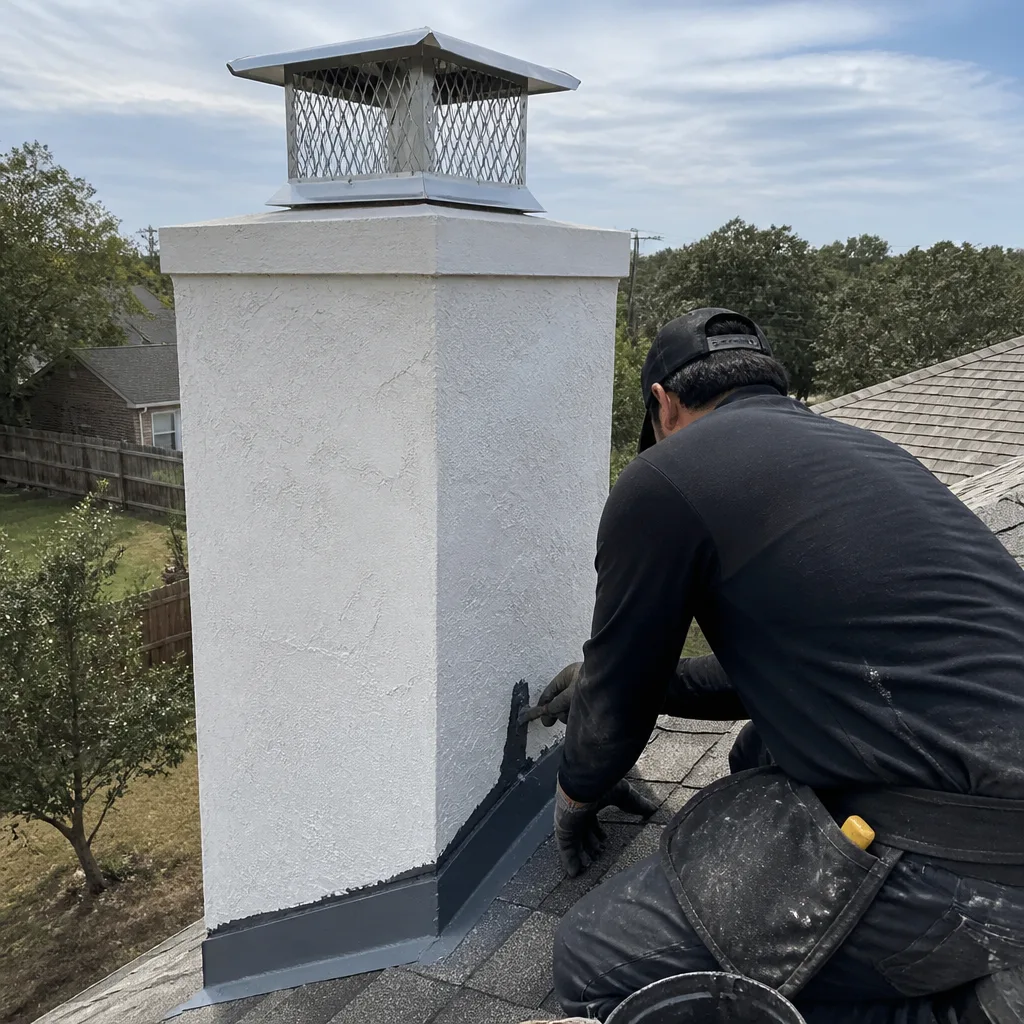 After
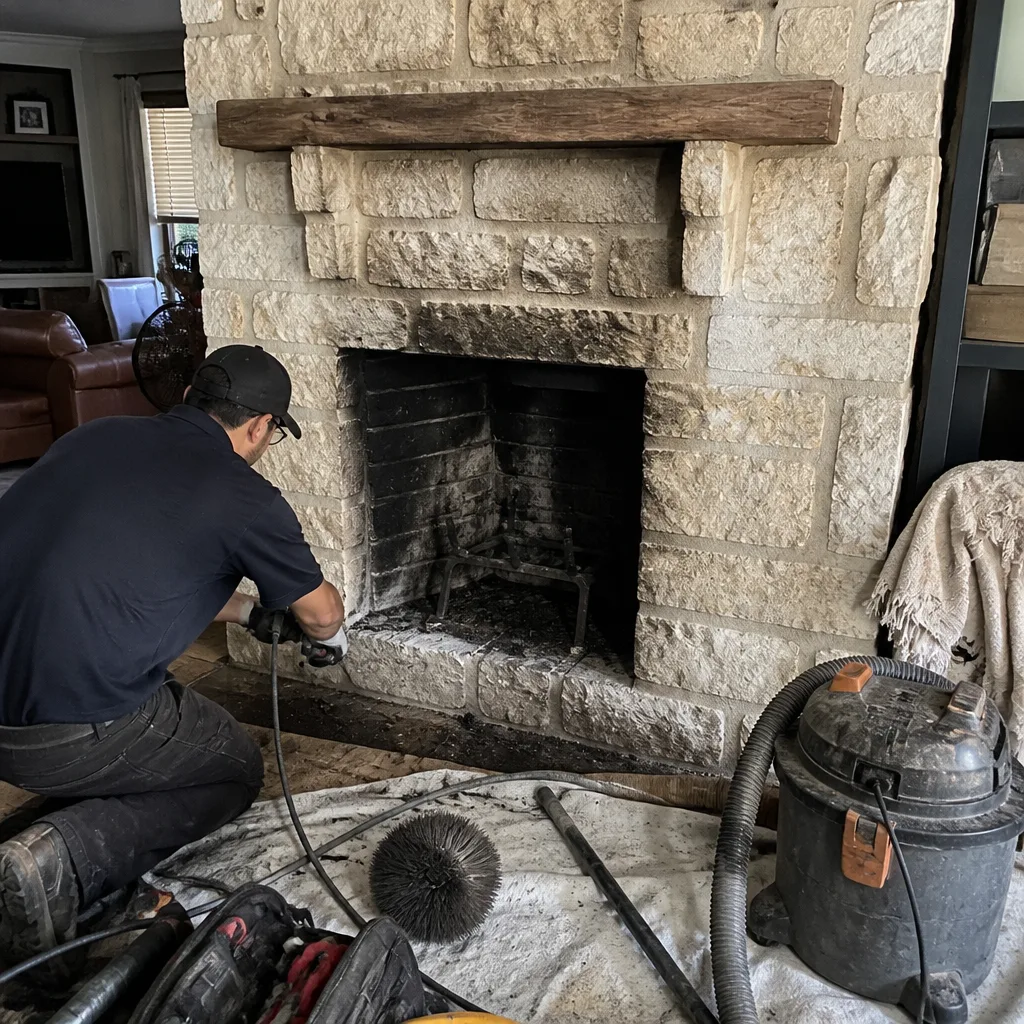 Before
 After
 Before
 After
When to Call a Professional
Call a chimney professional if you see shiny, tar-like creosote in the flue, if you notice light gaps around a closed damper, if mortar joints crumble when probed, if you’ve found evidence of animal nesting, or if smoke ever backs up into the room during a fire. These are not wait-and-see situations. Each one represents a fire or carbon monoxide risk that gets worse with time. Boardwalk Chimney Sweep offers free estimates in Round Rock – call (877) 274-1247.
Frequently Asked Questions
A chimney in Round Rock should be swept at least once per year, ideally in September or October before the first fire of fall. Homes that burn frequently, burn unseasoned wood, or burn softwoods may need twice-yearly sweeping. The National Fire Protection Association recommends a sweep any time creosote buildup reaches 1/8 inch or more, which is measured during a standard inspection. Call (877) 274-1247 to schedule a sweep that includes a full creosote assessment.
A standard chimney sweep in Round Rock typically runs between $150 and $300, depending on chimney height, accessibility, and the level of inspection included. Added services like camera inspection, damper replacement, or liner inspection will run additional. The cost of not sweeping – a chimney fire or a carbon monoxide event – far exceeds the cost of the service. For a free estimate, call (877) 274-1247.
Not necessarily. Many Round Rock homeowners are told they need a full liner replacement when a less invasive repair would solve the problem. A camera inspection is the diagnostic step, and the honest answer depends on what the camera shows: hairline cracks can sometimes be addressed with HeatShield resurfacing, while severe deterioration or a completely failed clay tile liner requires a new liner system. We use DuraFlex liner systems for replacements because they handle the offset flue configurations common in Round Rock homes. If a liner recommendation is made, you’ll see the camera footage yourself.
Creosote accumulates, and creosote is the fuel for chimney fires. Stage two and stage three creosote are highly combustible. A chimney fire burns at temperatures that can crack clay tile liners, warp metal liners, and spread to the roof structure. Even without a chimney fire, a clogged or restricted flue can push carbon monoxide into the living space. The risk compounds with every burn. A yearly sweep removes the creosote and identifies developing problems before they become failures. Chimney sweeping in Round Rock is prevention, not just maintenance.
Yes. The lint trap catches about 75% of lint. The other 25% passes through the trap and accumulates in the vent duct, where it bonds with moisture, pollen, and fabric softener residue. A long vent run in a Round Rock home can accumulate several pounds of compacted lint in two to three years. The lint trap is doing its job. The vent duct needs separate attention. We offer dryer vent cleaning in Round Rock as a standalone service or paired with a chimney sweep.
A small amount of cracked mortar doesn’t immediately make a fireplace unsafe to use, but it means water is entering the chimney structure, and that water damage accelerates with every rain and freeze cycle. The fireplace can usually be used while a repair is scheduled, as long as the flue is clean and the damper seals. However, if the cracked mortar is near the liner or if the chimney cap is damaged, use should stop until an inspection is complete. When in doubt, schedule the inspection before the next burn. Chimney repair in Round Rock is the service you need if mortar joints are compromised.
The Bottom Line
A Round Rock chimney needs a maintenance rhythm that matches the actual climate: monthly visual checks during burn season, an off-season inspection in May, summer attention to damper seal and wildlife entry points, and a professional sweep in September or October before the first fire. The checks that catch the most problems are the ones generic guides skip: mortar joint probing on chimneys older than 15 years, throat damper light-gap testing after summer, and dryer vent inspection during spring pollen season. Document what you see with photos and notes, because specific observations lead to specific diagnoses. And when you schedule service, pair the chimney sweep with dryer vent cleaning. One call, two fire hazards addressed. Call (877) 274-1247 for a free estimate from Boardwalk Chimney Sweep.
Written by the team at Boardwalk Chimney Sweep, serving Round Rock since 2011.